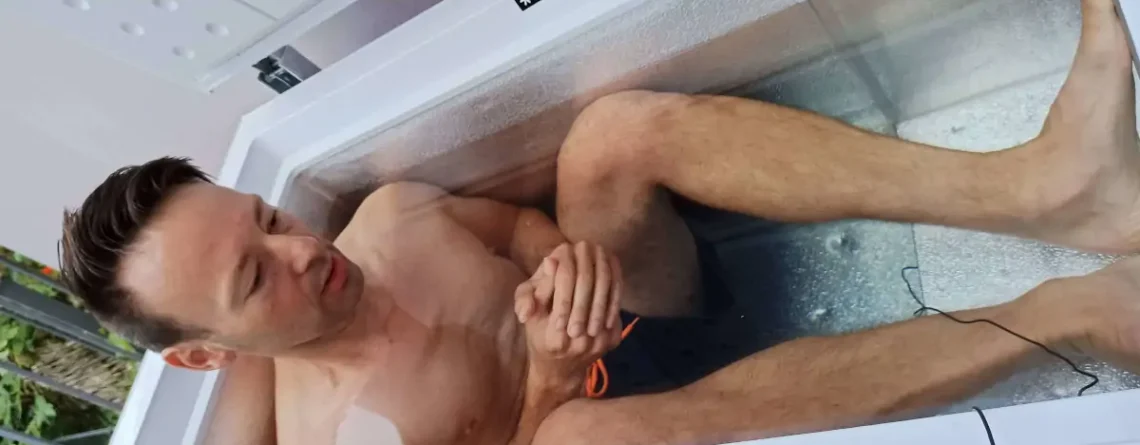
Experts are forecasting very warm temperatures of almost 40°C. Nevertheless, I don’t have to do without the cold, because I go into the homemade cold plunge at 1.6°C. How exactly? In a freezer!
Every cold water swimmer knows this: you look forward to winter so that you can finally go cold water swimming again. But with a little preparation, cold plunging also works in the warmer months! In this article, I’ll show you how you can enjoy the benefits of cold plunging to the full all year round.

Table of Contents
Why a Freezer Instead of a Cold Shower?
True cold plungers want water that’s really cold – not just a quick cold shower.
And that’s why cold water is needed in large quantities. If you are not lucky enough to live next to a cold mountain stream, you basically have these five options:
- Wait until winter arrives
- Cold shower
- Make ice cubes and then take a cold plunge at home in a bucket, barrel, or ice bathtub
- Convert the freezer or a freezer
- Use professional cooling systems
Since waiting until winter to take a cold shower is not really an option, and producing enough ice cubes to cool down 200 liters of water is not very practical, the only options are professional systems or preparing your own freezer for cold plunging. The latter is easier than you think, but a few steps are necessary.
How Exactly Does a Freezer Work?
Most households have one: either a freezer compartment is built into the fridge or, if you need more space, as a separate appliance, which is usually located in the cellar or garage. The functionality of freezers varies slightly depending on the manufacturer and model, but basically, they work as follows:
- The freezer contains an electrically operated compressor. The compressor is the heart of the freezer, as it compresses a refrigerant gas, increasing its pressure.
- The compressed gas then flows into a condenser, which is usually located at the back of the freezer.
- The condenser consists of thin metal tubes that can efficiently dissipate the heat. The heat dissipation causes the refrigerant to cool down and condense into a liquid state.
- The liquid refrigerant then enters an evaporator inside the freezer, where it absorbs the heat and evaporates again
The gaseous refrigerant is then recirculated back into the compressor, and the process starts all over again.
This recurring cycle continuously removes heat from the interior of the freezer, which means that after a while, the freezer reaches negative temperatures inside and can therefore also act as an ice bathtub.
Which Sizes Are Most Suitable?
You should make sure the freezer is the right size. It is advisable to choose a freezer that is not oversized, as this will give you significantly more to cool. But it shouldn’t be undersized either, because then you might not be able to fit everything in. It is generally advisable to choose a smaller chest freezer, as it saves space and is also more energy-efficient, and can cool down the amount of water more quickly. Of course, the most important thing is that you fit in well, but you don’t have to be able to stretch your legs out completely or lie down in it.
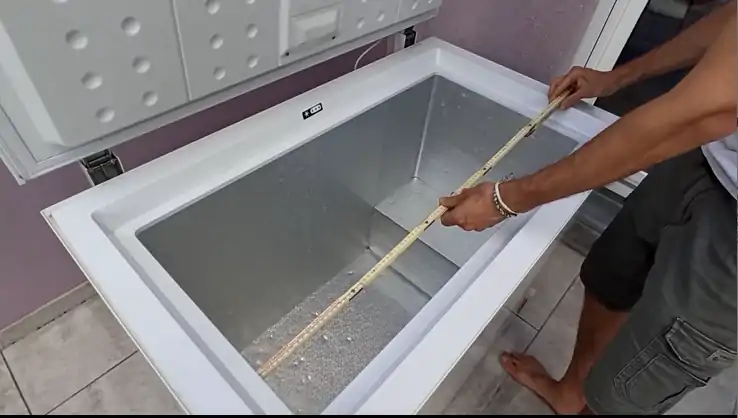
My freezer has the following dimensions:
Inner length: 92 cm
Inner depth: 65 cm
That’s just about enough for me, because the compressor also takes up space. That means I can’t sit on it, otherwise I’ll be too high up and my shoulders won’t be covered with water.
Which Freezer and How Many Liters Do You Need?
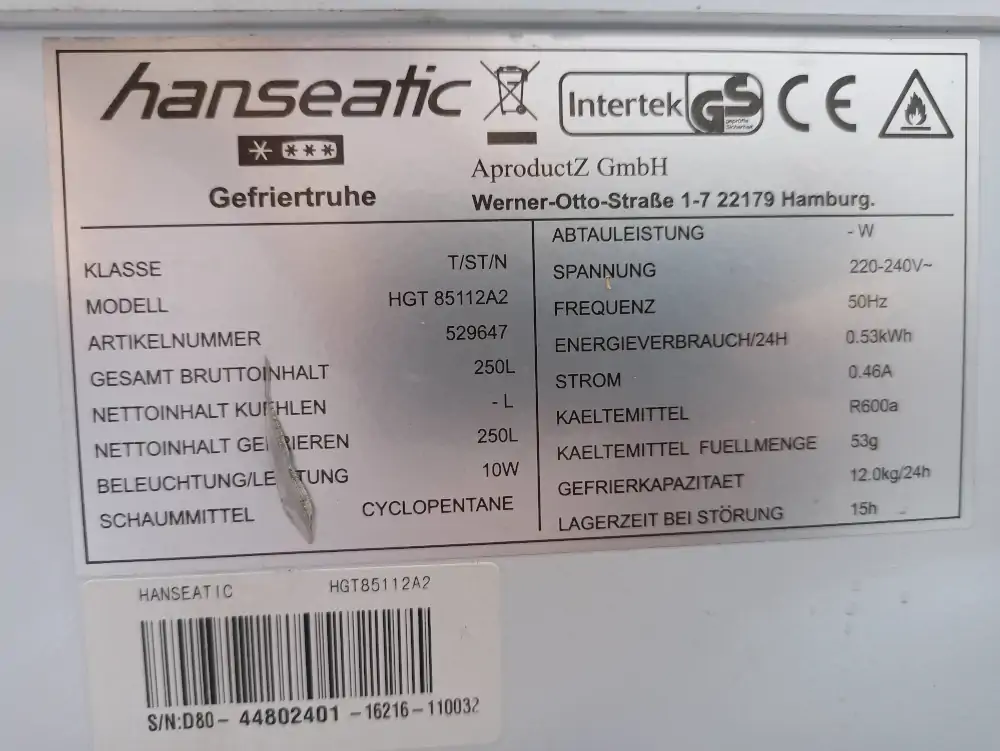
I have invested in a second-hand Hanseatic freezer. It’s quite small, but at 1.83 meters tall, I fit in so that I’m completely covered in water. The freezer has a volume of 250 liters, but I only need about 150 liters because my body fills the rest.
The energy consumption was not really decisive for me, as the freezer runs for a maximum of 2-3 hours a day and usually only when the sun is shining.
How Exactly to Prepare Your Freezer for Cold Plunging?
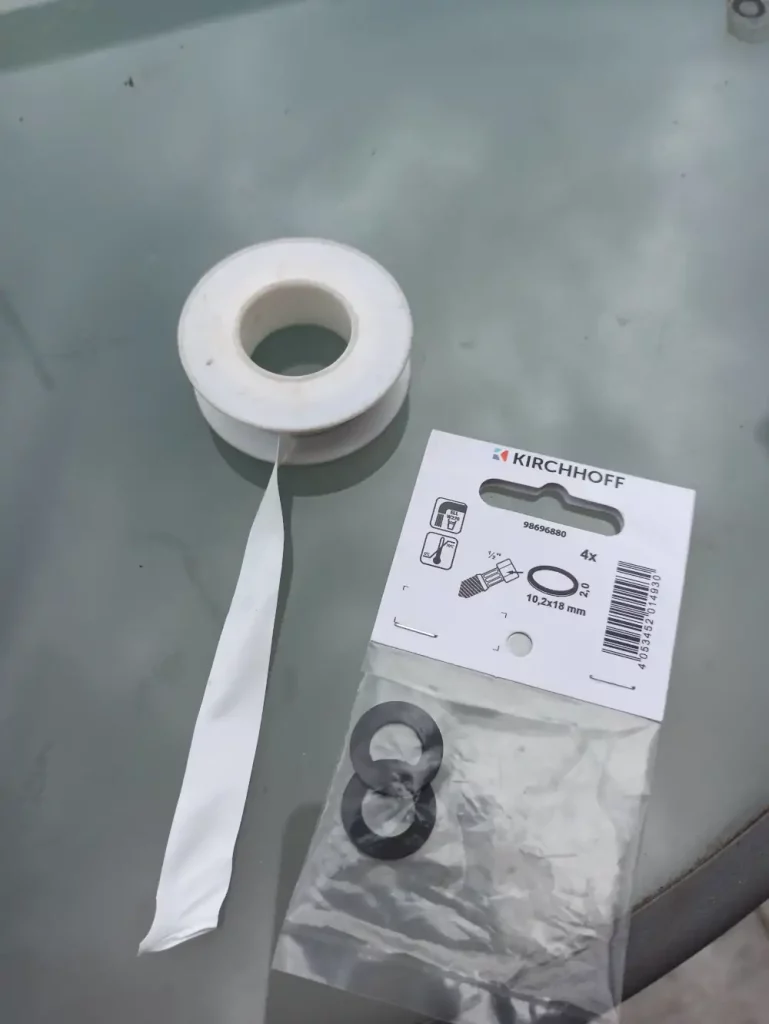
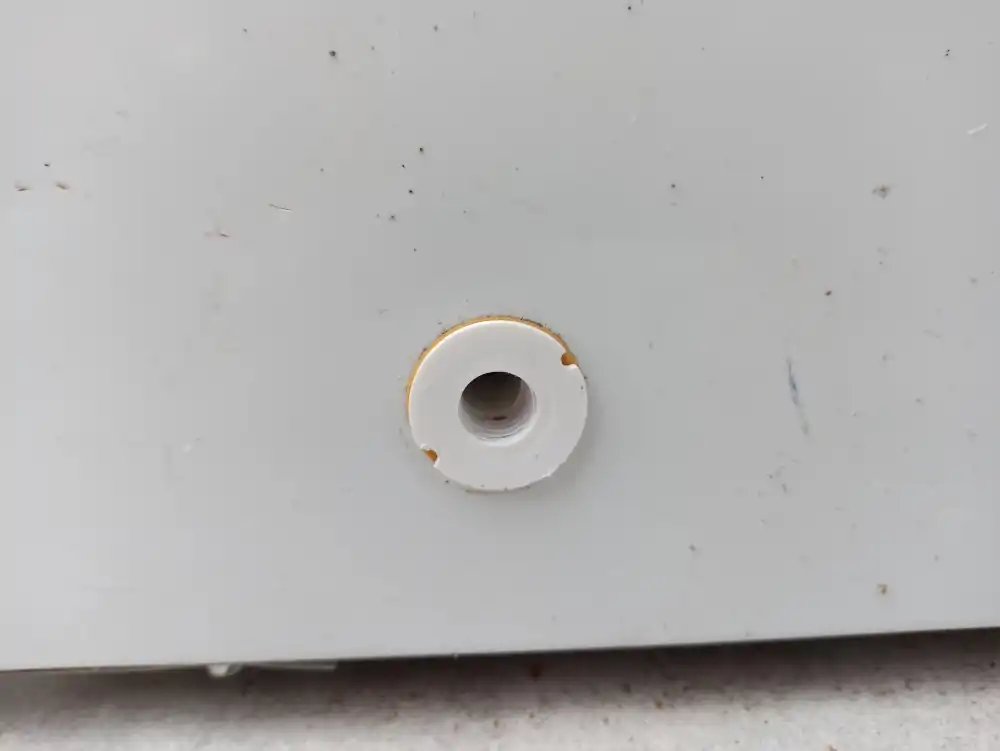
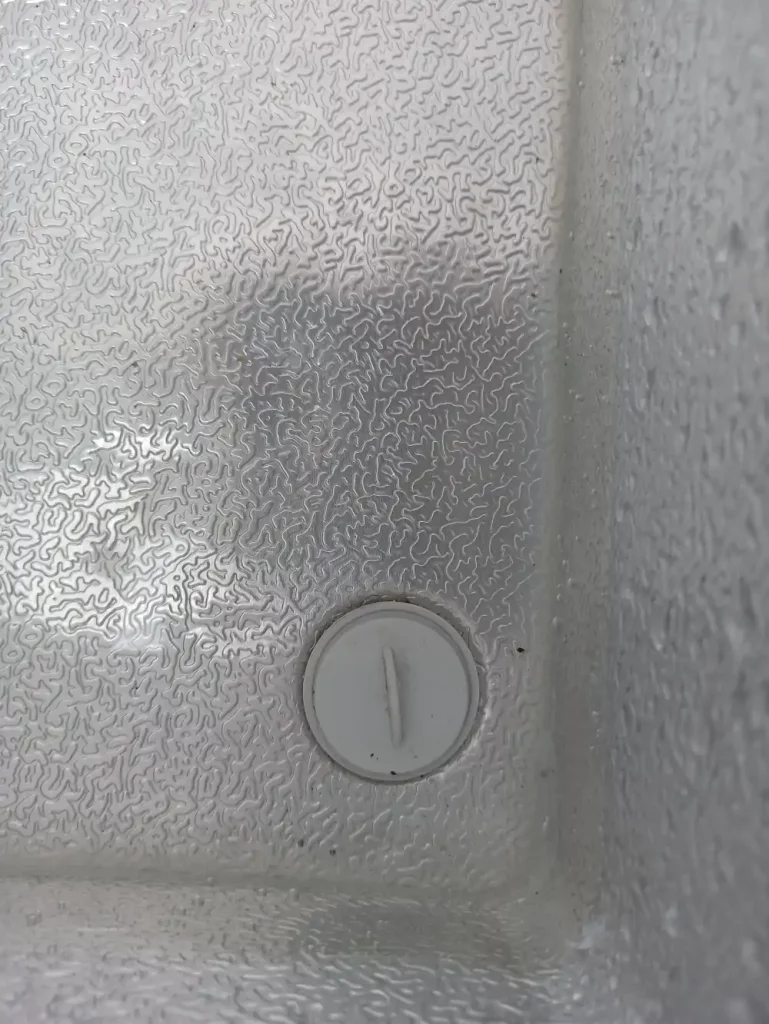
In principle, it’s super simple. You need commercially available sanitary silicone. I used transparent silicone so that the joints aren’t visible clearly – and also paid attention to the quality (just bought the most expensive :-) ) as I didn’t want to risk water leaking out. You also need a little soapy water to smooth it out and a kitchen roll to wipe away the excess silicone. And if your freezer has a drain, you should also secure the plug with silicone tape and a seal. I didn’t do this the first time I tried it, and it leaked all the time.
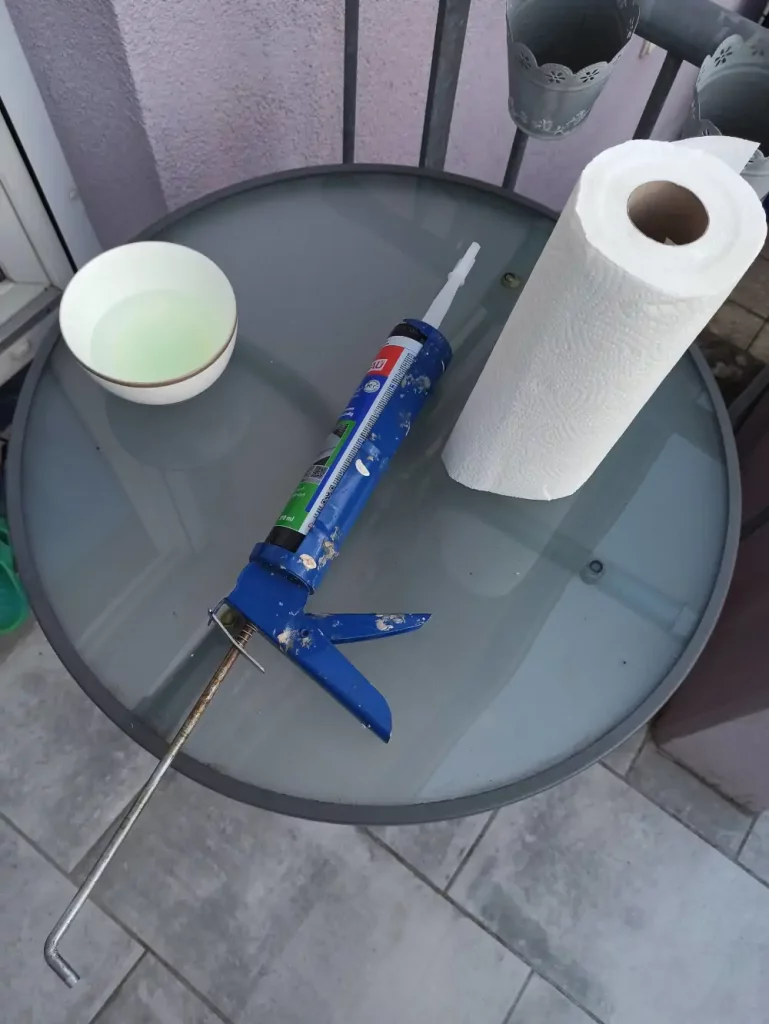
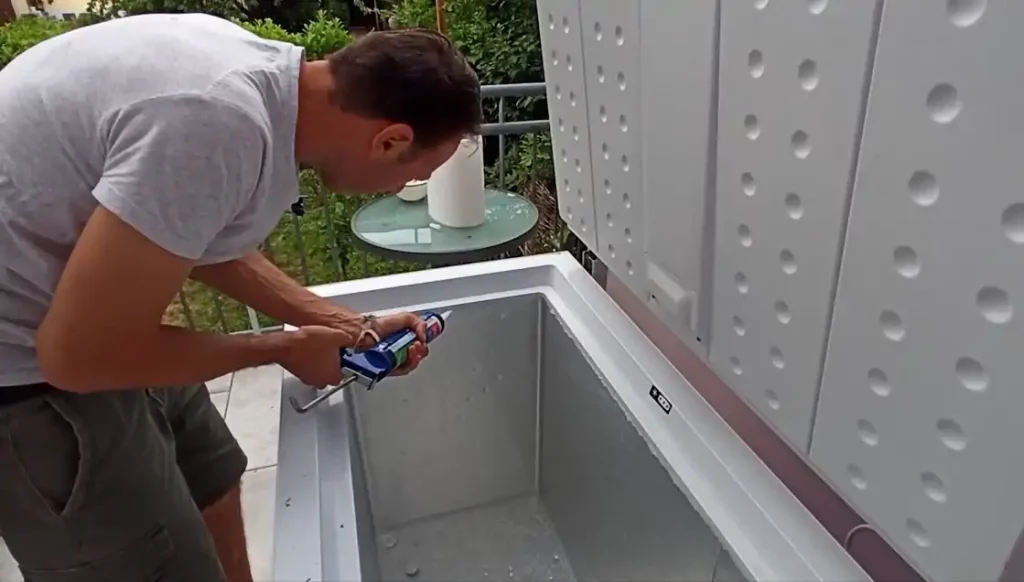

And then it’s time to grout. Simply apply a good strip of silicone wherever you see a gap and then smooth it out with your finger. Then go over it with soapy water.
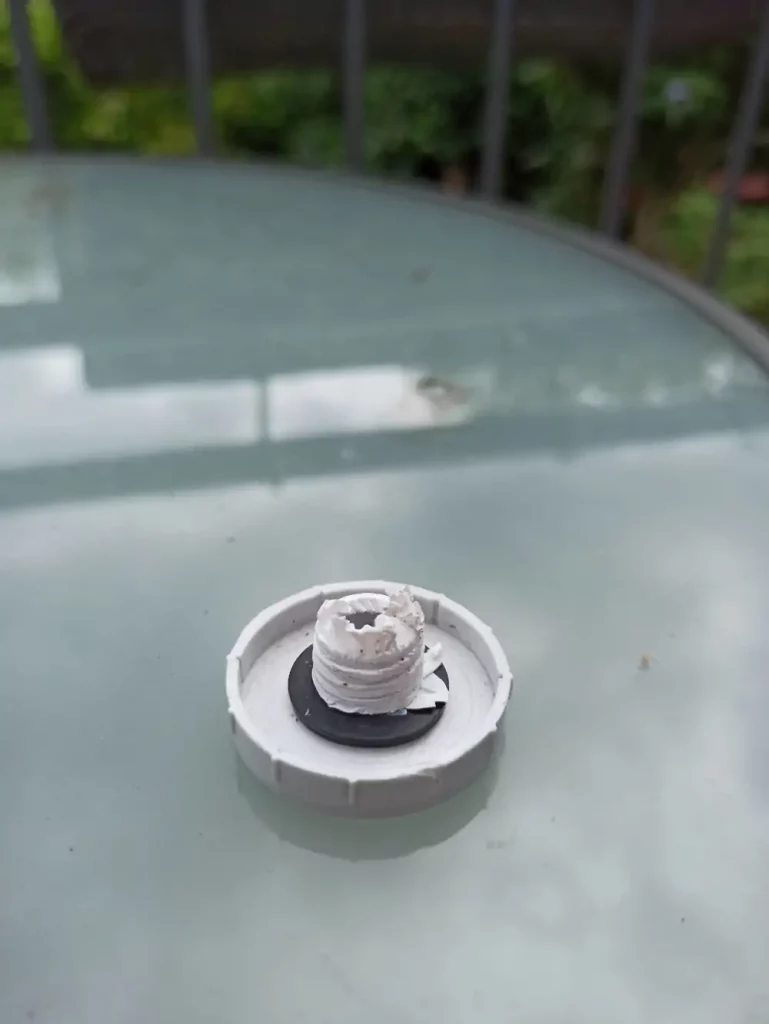
Wrap silicone tape around the (plastic) thread of the plug and put the seal on it. The whole thing is ready! Then leave to dry overnight and fill with water the next day. Nothing should drip out through your joints. When the floor around the chest is dry and the water level remains the same, you can insert the plug and cool your chest.
A little tip about the plugs: If possible, you should leave them in, as it should be possible to drain the water from time to time. If this is not possible, you would have to pump it out or laboriously remove it with another container. I have already seen some prepared freezers where the stopper has been glued shut.
And this is what the freezer filled with water looks like – the water stays inside and just needs to be cooled.

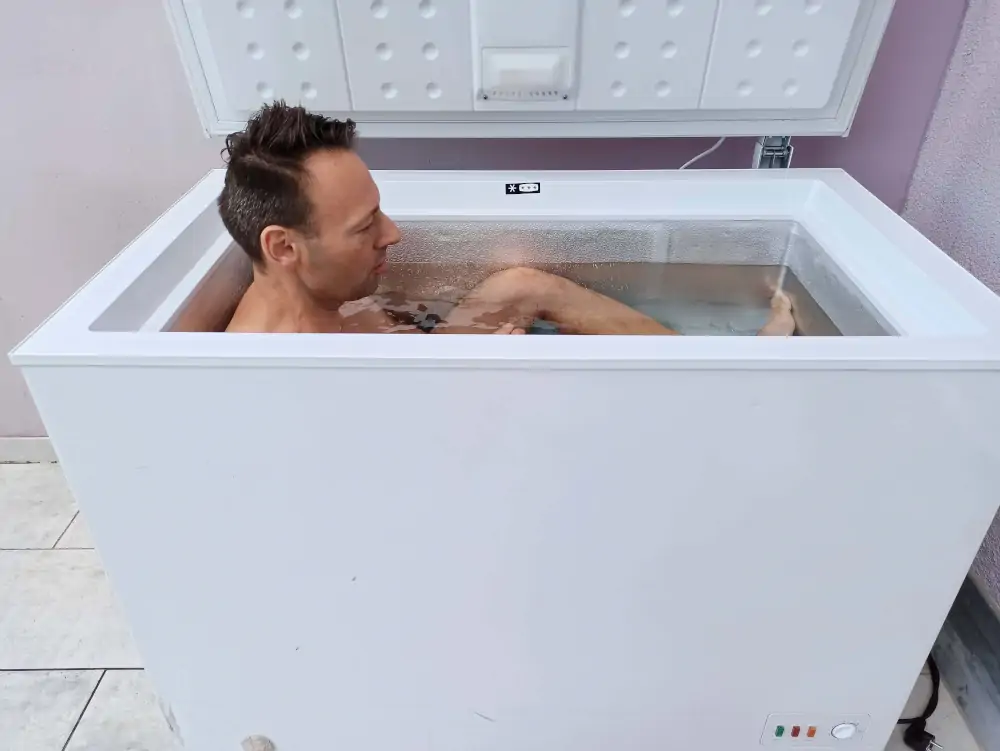
What the Final Setup Looks Like
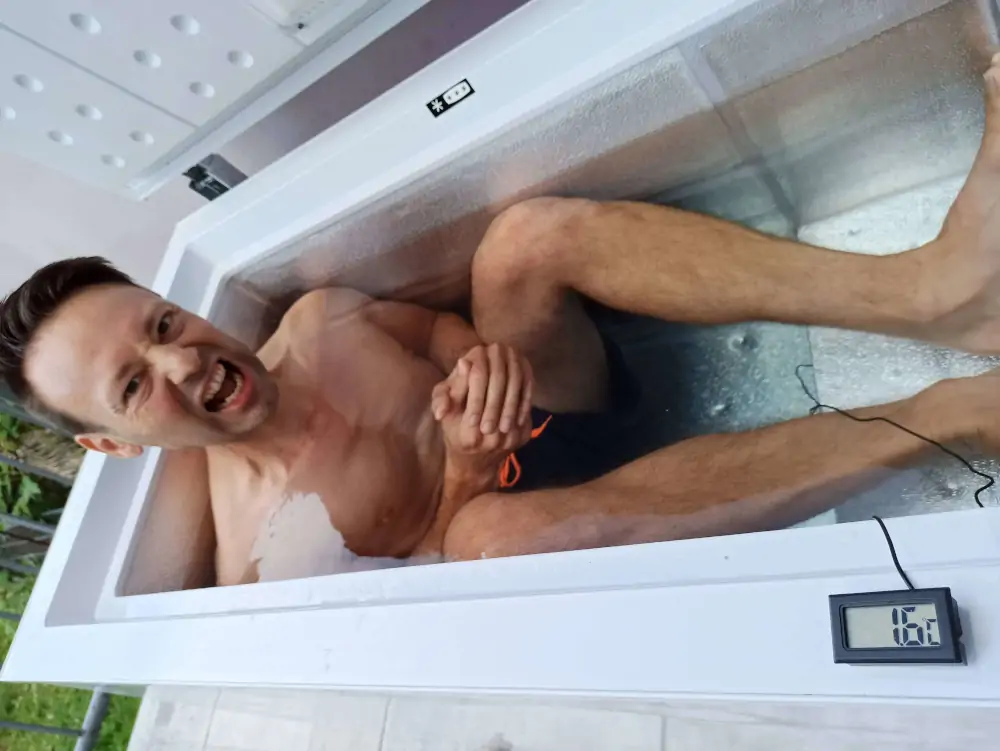
This is how cold plunging works in a small but sufficiently large freezer. And it gets really cold, too! You can make the freezer as cold as you like – if you leave the freezer running all the time, you’ll end up with a block of ice. In my case, it got 1.6 °C cold.
What Should You Pay Attention To?
You must always make sure to disconnect the power supply, i.e., pull the plug completely out of the socket, so that you do not risk getting an electric shock.
How Long Does It Take for the Water to Cool Down?
In my case, it took about 12 hours for the water to cool down to 1.6 °C. And it didn’t have to be that cold. You would get to a sufficient temperature of 4-5 °C more quickly. I estimate that, depending on the amount of water, the cooling circuit can reduce the temperature by 1-2 °C per hour. More at the beginning and less later, when the temperature is already low.
What are the Costs for the Freezer and sealing?
I spent 80 euros on a second-hand freezer. I also had to organize transport for it, which cost me 30 euros. I also spent about 10 euros on silicone and seals. So in total we’re looking at around 120 euros.
What is the Energy consumption for a Cold Plunge?
The freezer scores highly in terms of power consumption, as the system is designed to cool as efficiently as possible. The cooled water remains in an insulated container, which is why there is little loss of efficiency. A normal chest freezer consumes between 100 and 300 watts of electricity, depending on the size and model. Due to its small dimensions, my freezer uses around 120 watts, which makes it perfect for use with my balcony power system. The electricity is then basically free and also green. The energy consumption per 24 hours is specified by the manufacturer as 0.53 kWh. As the freezer has to run for a maximum of 12 hours to really cool down properly, the requirement would only be 50% of the specified 0.53 kWh, i.e., 0.26 kWh * 0.4 EUR = approx. 11 cents per ice bath. And this is the calculation if you use conventional electricity from the socket – with the balcony power station it is of course even cheaper.
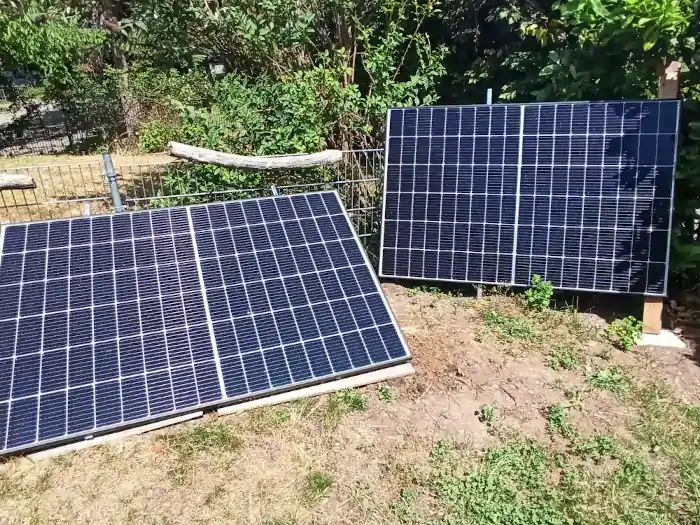
I also take the opportunity to draw water for the freezer from my rainwater barrel, which saves water. That’s my way of going green.
What Alternatives are There to the Freezer?
There are professional systems that usually use flow-through coolers from aquarium technology and cool the water in a circuit. Depending on the device, this can be done really quickly, from 17-20 °C down to 4 °C within 3-4 hours. And for recurring ice baths, you only have a cooling time of 1 hour, depending on the temperature. Of course, these appliances also consume more electricity because the motor is more powerful, but also because the water is pumped from the pool into the cooler and then back again. So there are more energy efficiency losses than with the freezer.
My conclusion
A freezer is one of the simplest, most affordable ways to enjoy cold plunging at home year-round. Its advantages include:
- You can control the temperature of the water fairly precisely, and even as a beginner, you can easily get used to the cold and gradually increase the temperature.
- Other major advantages are the relatively low purchase costs (a new freezer starts at around 300 euros), quick and uncomplicated jointing with silicone, and use for different purposes. The freezer does not lose any of its functionality due to the ice bath and the silicone joints, and it has already served us well at our garden parties.
- Easy maintenance
- Dual use for cold storage when needed
With a freezer, you need longer to cool the water. With a professional system, this can be done within 3-4 hours, whereas with a freezer, it is best to start cooling a day before the planned ice bath. The advantage of a freezer is that once the water is cool, you only need to chill it for 2-3 hours for the next ice bath session.
The disadvantage of a freezer is that it is naturally designed for cooling drinks and food. If you prepare and use it for cold plunges, you will probably lose the legal guarantee, which is quite annoying if the freezer gives up the ghost prematurely.
The main drawbacks are slower cooling times and loss of the manufacturer’s warranty. And remember – always unplug the freezer before use to avoid electrical hazards.
With the right precautions, a freezer cold plunge is a practical and powerful way to bring cold therapy into your daily routine.
Check out our guide on how to prepare yourself for cold plunging.